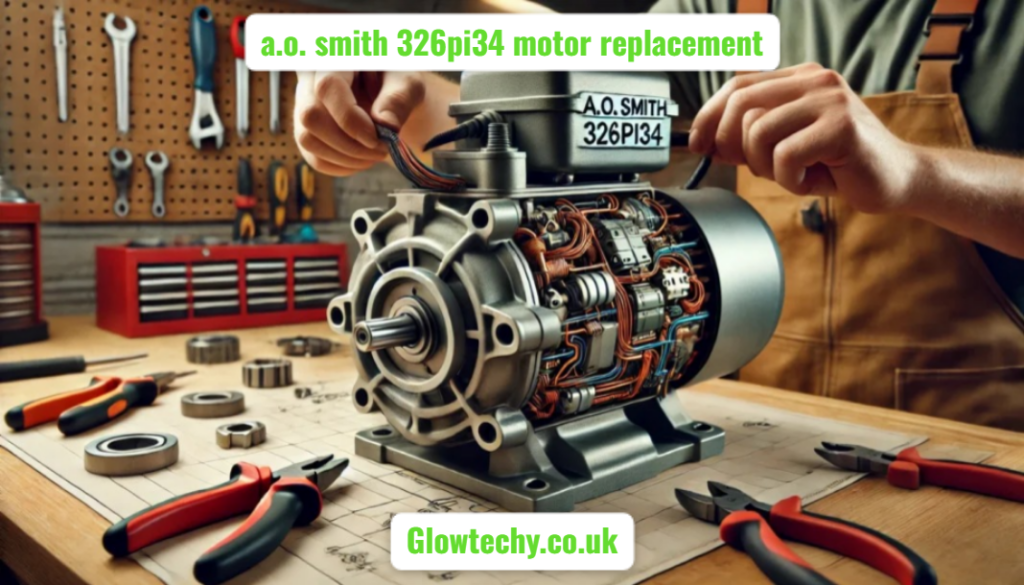
Understanding the A.O. Smith 326PI34 Motor
The a.o. smith 326pi34 motor replacement is a robust, high-efficiency electric motor used extensively in HVAC systems, pumps, and industrial machines. Known for its durability, consistent performance, and energy efficiency, this motor is a staple in both residential and commercial setups. Over time, even the best machinery faces wear and tear. When performance declines or the unit fails, timely motor replacement becomes necessary. The replacement process might seem daunting, but with the right knowledge, tools, and steps, it can be straightforward and safe.
User Query: How to Replace A.O. Smith 326PI34 Motor?
The most common user query is whether replacing the 326PI34 motor can be done by oneself or if professional help is required. This guide provides detailed, factual, and hands-on advice for a complete replacement—helping you decide when to DIY and when to hire a pro.
Signs Your A.O. Smith 326PI34 Motor Needs Replacement
Recognizing the symptoms of a failing motor is essential. Ignoring early signs can lead to full equipment failure or even safety hazards. Here are common red flags:
- Unusual humming, buzzing, or grinding noises during operation
- Frequent overheating or motor shutdowns
- Significant reduction in performance or torque output
- Physical signs like burn marks or frayed wires
- Electrical tripping due to motor load anomalies
Tools Required for Safe and Efficient Replacement
Before beginning, gather all essential tools. Using the correct tools minimizes injury risk and prevents further equipment damage.
- Multimeter (for checking voltage and continuity)
- Screwdrivers (Phillips and flat-head)
- Wrenches and socket set
- Torque wrench
- Wire strippers and electrical tape
- Replacement A.O. Smith 326PI34 motor (verified by serial/model number)
Precautionary Measures Before Motor Removal
Safety is paramount in electrical repairs. Follow these steps before attempting removal:
- Disconnect power at the circuit breaker to avoid electrical shock.
- Use a voltage tester to confirm zero power flow.
- Allow time for the motor to cool down before handling.
- Mark and document all wire connections before disassembly.
- Ensure the surrounding area is dry and free of flammable materials.
Step-by-Step Process for Motor Removal
The process of removing the old a.o. smith 326pi34 motor replacement requires care and patience. Each step must be executed with attention to detail:
1. Disconnect the Power and Isolate Motor
Turn off power from the panel and double-check using your multimeter. Safety gloves and eye protection are highly recommended.
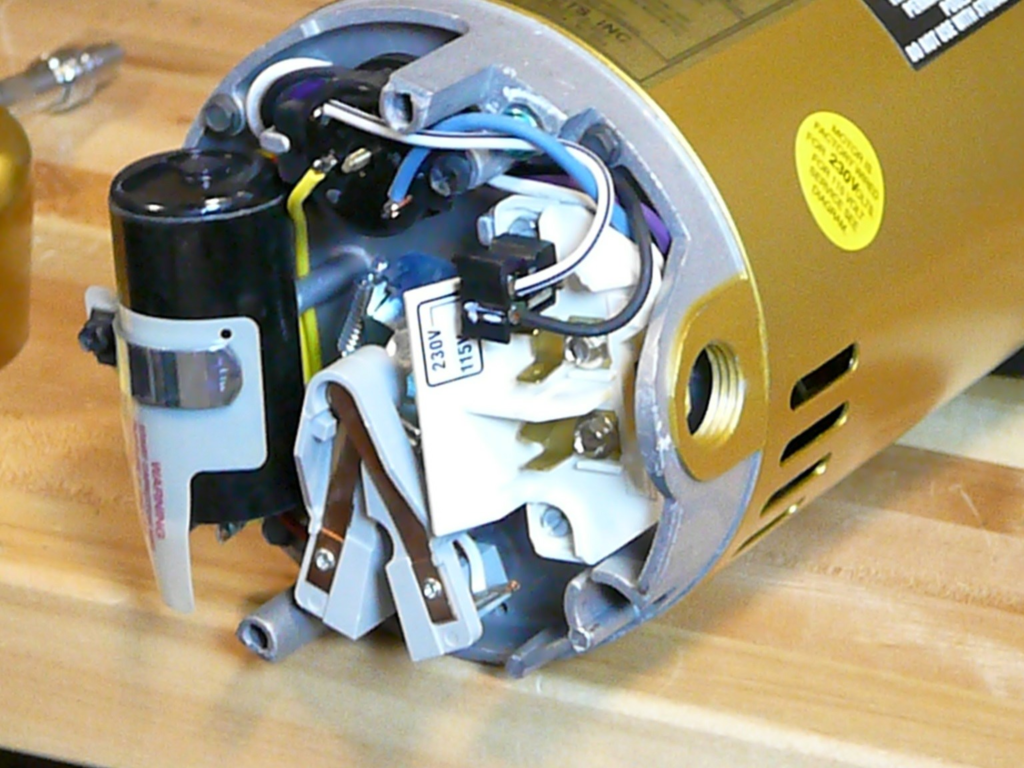
2. Remove the Access Panel
Unscrew and remove the access panel of the unit where the motor is housed. This will expose the wiring and mounting system.
3. Label and Disconnect Wires
Use masking tape and a marker to label all wire connections before detaching them. Carefully unclip or unscrew the connectors.
4. Detach Mounting Brackets
Use a socket wrench to remove bolts holding the motor to its mount. Set aside the hardware in a container for easy reinstallation.
5. Extract the Motor
Slowly slide out the motor. Be mindful of any attached components like the capacitor or fan blades that might come off with it.
Installation of the New A.O. Smith 326PI34 Motor
With the old motor out, you’re halfway done. Installation of the new motor is essentially a reverse of the removal process.
1. Match Specifications
Before proceeding, ensure the replacement motor has identical specs:
| Parameter | Old Motor (326PI34) | Replacement Motor |
| Voltage | 208-230V | 208-230V |
| Horsepower | 1/3 HP | 1/3 HP |
| RPM | 1075 | 1075 |
| Frame Size | 48 | 48 |
| Rotation | CCWLE | CCWLE |
2. Insert and Align Motor
Place the new a.o. smith 326pi34 motor replacement into the mounting location, ensuring proper alignment with bolt holes and any connected shafts.
3. Reattach Mounting Brackets
Secure the motor with the previously removed brackets and bolts using a torque wrench to ensure a tight and vibration-free fit.
4. Reconnect Wires as Labeled
Follow the labels you created to reconnect each wire to its corresponding terminal. Use wire nuts and electrical tape for secure connections.
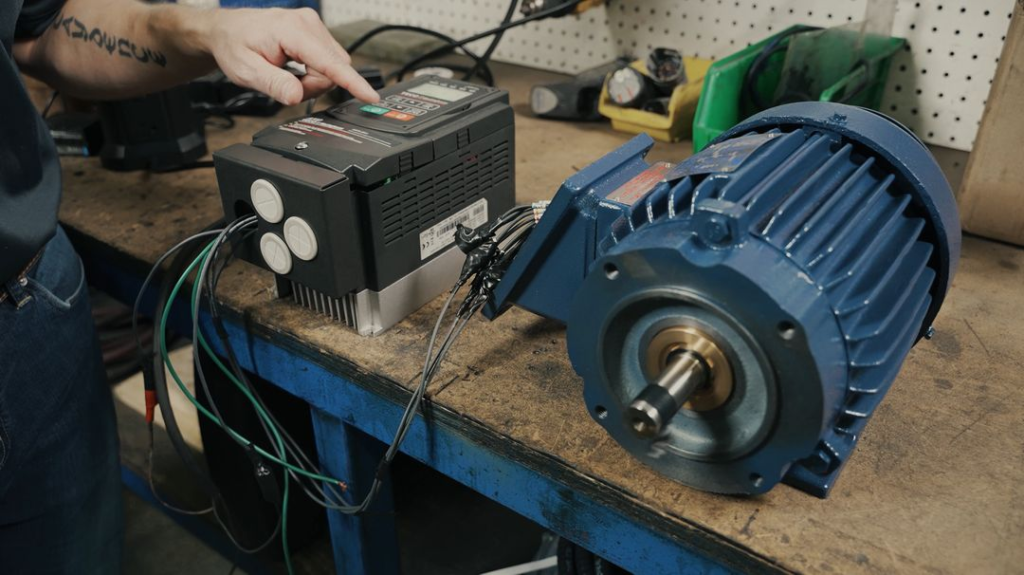
5. Test Run
Before securing the access panel, briefly restore power to check if the motor runs smoothly without noise or imbalance.
Troubleshooting After Installation
Sometimes, issues might arise even after correct installation. Here’s how to troubleshoot common post-installation problems:
- Motor doesn’t start: Recheck wiring and voltage supply.
- Overheating: Confirm airflow around the motor and check for obstructions.
- Unusual noise: Tighten mounting bolts or inspect bearings.
- Reverse rotation: Verify rotation direction label (CCWLE or CWLE).
When to Call a Professional Technician
While many DIYers can handle the replacement, certain situations require professional help:
- Lack of proper tools or safety gear
- Unfamiliarity with electrical schematics
- Wiring confusion or mismatch
- Obsolete systems needing rewiring
- Persistent post-installation issues
Real-World Example: HVAC Motor Replacement
One HVAC technician reported replacing over 100 units of 326PI34 motors across commercial buildings. In one case, a motor that failed mid-winter caused an entire office building to lose heat. Replacing the motor restored full system functionality within hours, proving the a.o. smith 326pi34 motor replacement importance in environmental control.
Maintenance Tips to Extend Motor Lifespan
To avoid frequent replacements, follow these maintenance practices:
- Clean motor housing and air vents monthly
- Lubricate bearings annually if applicable
- Avoid electrical overloads by checking voltage
- Ensure the motor operates in a dry, clean space
- Conduct biannual inspections for wear and tear
Comparing OEM vs. Aftermarket Motors
Choosing between OEM (original equipment manufacturer) and aftermarket motors can impact performance:
| Criteria | OEM Motor (326PI34) | Aftermarket Motor |
| Compatibility | Guaranteed | Varies by model |
| Warranty | Manufacturer backed | Sometimes limited |
| Price | Higher | Generally lower |
| Reliability | Very high | Medium to high |
Final Quality Check Before Completion
After reassembly, perform a final checklist:
Proper Disposal of Old Motor
Do not discard old motors in regular trash. Take them to certified recycling centers. Most motors contain valuable copper and steel, which can be recycled. Some locations offer rebates for returning used motors.
5 Key Takeaways for Motor Replacement
- Always verify the replacement motor matches the original specs.
- Document all wire connections before removal.
- Use proper tools and follow electrical safety protocols.
- Test motor function before fully reassembling.
- Perform regular maintenance to avoid early failure.
Conclusion: Efficiently Handle A.O. Smith 326PI34 Motor Replacement
a.o. smith 326pi34 motor replacement may seem like a technical challenge, but with the right guidance, it becomes a manageable task. Following the step-by-step instructions ensures safety, system reliability, and long-term equipment health. Whether you’re an HVAC technician, a facility manager, or a DIY enthusiast, understanding the intricacies of this motor replacement can save you both time and money while preserving performance. When in doubt, consult with professionals to ensure everything runs smoothly.
Frequently Asked Questions (FAQs)
Q1: Can I use a different motor with similar specs instead of 326PI34?
A: Yes, but it must exactly match the electrical and mechanical specs to ensure compatibility and safe operation.
Q2: How long does it take to replace a 326PI34 motor?
A: For experienced technicians, it takes 45 minutes to an hour. For DIY users, allow 2-3 hours including troubleshooting.
Q3: Do I need to replace the capacitor with the motor?
A: It’s highly recommended to replace the capacitor if it shows signs of aging or malfunction, as it affects motor performance.
Also Read This: Leonard Refrigerator Porcelain Lined Oak Exterior: A Masterpiece of Antique Innovation